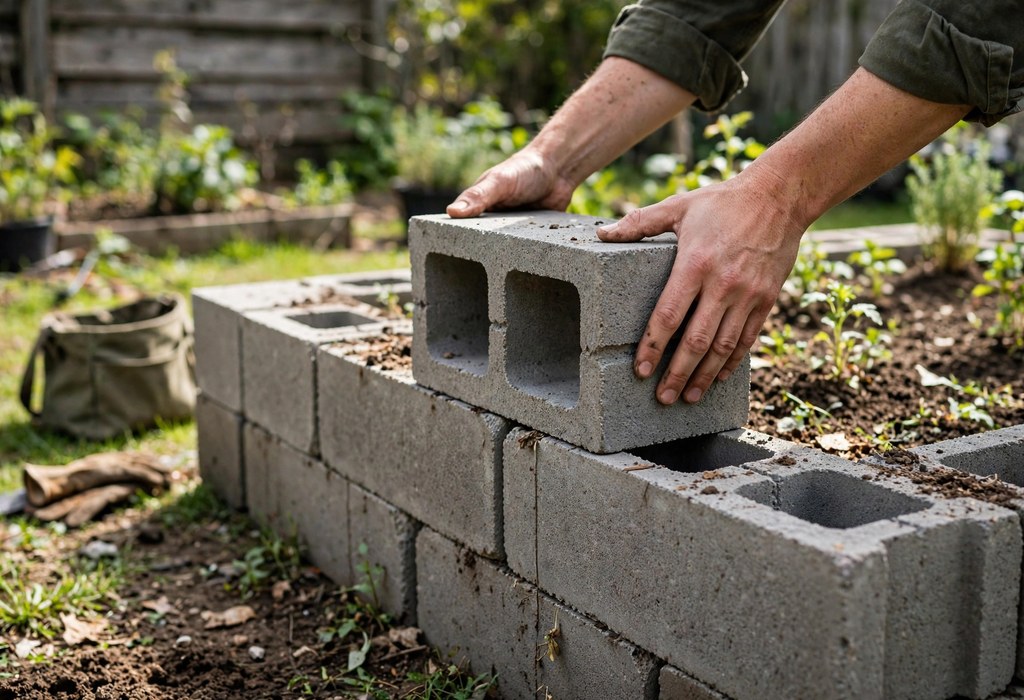
You can build a cinder block raised bed without mortar by dry stacking. Each block simply rests on the course below, held by gravity and friction. For example, this technique suits low garden walls and needs no masonry skills.
Dry stacking means placing blocks without any bonding material between courses; instead, gravity holds every course. Weight, friction, and careful alignment provide the strength. Garden walls stay stable because soil pressure remains low and even. Therefore this guide explains the technique step by step, from site preparation to capping the finished wall. Additionally, you will learn when to add rebar and caps for extra strength.
Why Dry Stacking Works for Low Garden Walls
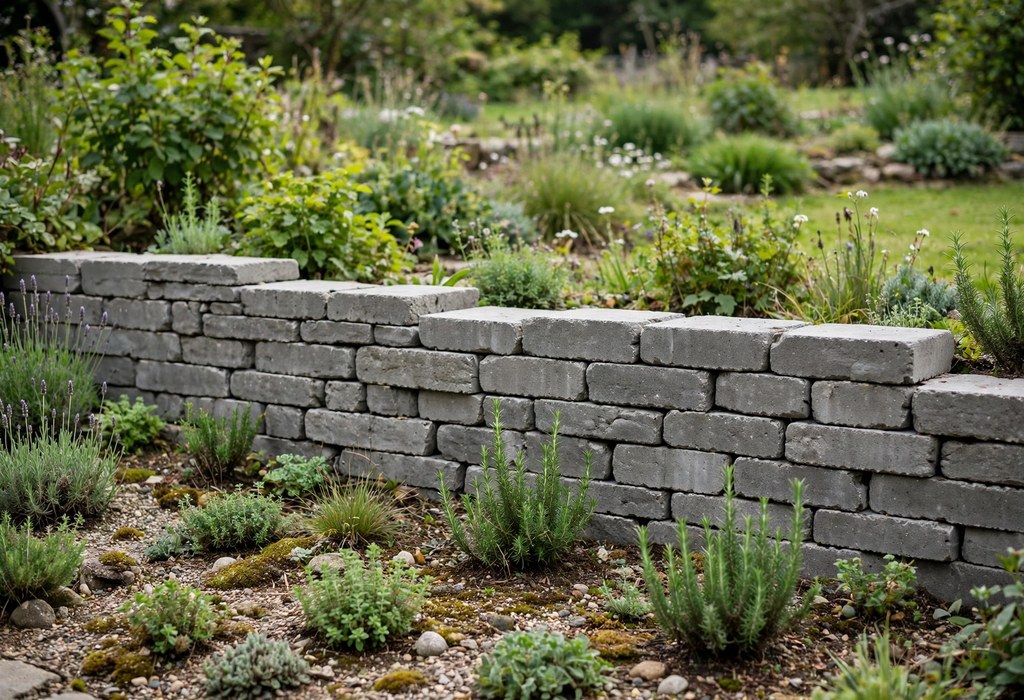
Instead of glue, a dry-stacked wall relies on sheer mass. Furthermore, each concrete masonry unit weighs about thirty pounds and presses firmly downward. Friction between courses resists the gentle sideways push of soil. Consequently short garden walls stand firm for many years without any mortar at all.
Soil pressure inside a raised bed stays surprisingly low. Moreover, most vegetable roots occupy only the top twelve inches of mix. Taller sections face more force, so low walls handle the load easily. Meanwhile the open block cores add weight and interlock the courses naturally.
Home gardeners choose this method because it stays forgiving and flexible. You can lift a block and reposition it instantly. Furthermore a dry-stacked cinder block raised garden bed lets you reshape or expand the layout later. Mortared walls offer no such freedom.
Preparing and Leveling the Site
A level base decides everything about your finished wall. Even a small dip causes courses to tilt and gap. Therefore clear the footprint and remove grass, roots, and rocks. Finally, tamp the soil firmly with a hand tamper.
Additionally, spread a two-inch layer of crushed gravel across the footprint. This gravel base improves drainage and resists frost heave. Screed it smooth, then compact it thoroughly. Finally set a four-foot level across the area and adjust until the bubble centers.
Serious gardeners sometimes lay landscape fabric under the gravel. Fabric blocks weeds while letting water pass through. It also stops soil from migrating into the base layer. As a result your foundation stays firm season after season.
Stacking the Blocks With Staggered Joints
Place the first course directly on your prepared base. Additionally, set each block tight against its neighbor with no gaps. Check level frequently and tap blocks down with a mallet. A true first course makes every later course easy.
Similarly, stagger every joint like traditional brickwork. Each block should bridge the seam between two blocks below. This running bond pattern spreads loads across the wall. Consequently the wall resists shifting even without mortar.
Lock corners by alternating block direction on each course. This interlocking method ties the walls together at right angles. However long straight runs may still creep over time. Prevention beats repair every time.
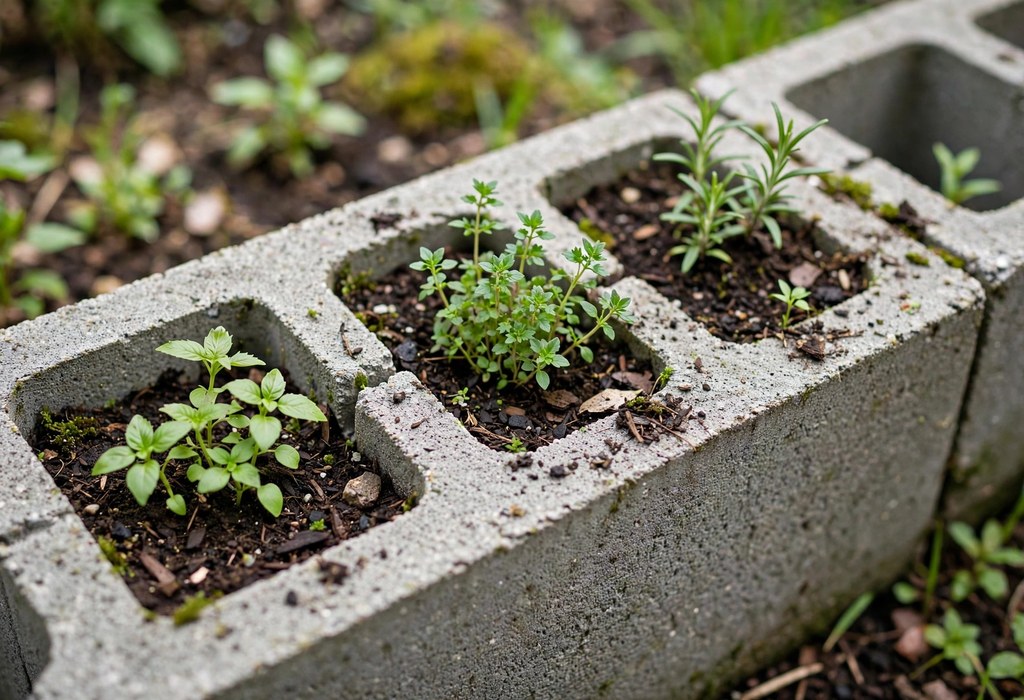
Fill block cores with soil as you build each course. This added mass stabilizes the wall further. Tamp the fill lightly to avoid bulging the blocks. Additionally core soil creates handy planting pockets for herbs and flowers.
When to Add Rebar and Caps
Low two-course walls rarely need extra reinforcement. Gravity and soil fill hold them securely. However taller walls and soft ground change the calculation. Therefore drive rebar through the block cores when walls exceed sixteen inches.
Additionally, pound half-inch rebar through every third block core into the ground. Drive each bar at least twelve inches below the base. This pinning stops lateral creep and tipping. Similarly it helps walls survive freeze-thaw cycles intact.
Top the wall with solid cap blocks for a finished look. Caps distribute weight and discourage weeds in the cores. Moreover caps create a comfortable seat and a handy shelf for tools.
Food safety matters when growing edibles in concrete. Modern blocks contain minimal fly ash and leach very little. Acidic soils below pH 5.5 increase leaching slightly, however. Consequently line inner walls with a food-safe liner if you use reclaimed blocks.
Height Limits for Dry-Stacked Walls
Keep dry-stacked beds at two courses, roughly sixteen inches. Moreover, this height suits most vegetables and stays structurally safe. Roots of tomatoes, peppers, and lettuce thrive in this depth. Three courses work only with rebar pinning and solid caps.
Never exceed twenty-four inches without mortar and engineering. Soil pressure grows quickly with each added course. Otherwise, tall unreinforced walls can bow or topple after heavy rain. Instead build multiple low beds and gain the same growing space safely.
Dry Stack vs Mortared Walls: Pros and Cons
Dry stacking wins on speed, cost, and flexibility. For example, you finish a bed in an afternoon with basic tools. There is no mixing, curing, or masonry skill required. Furthermore you can dismantle the wall and reuse every block later.
Mortared walls suit permanent structures and retaining walls. Mortar bonds courses into one rigid mass. That rigidity handles taller heights and heavier loads. However mortar adds cost, labor, and a full day of curing time.
- Speed: dry stacking finishes in hours while mortar needs a full curing day.
- Cost: you skip mortar, mixing tools, and extra labor entirely.
- Flexibility: dry walls disassemble easily for redesigns or moves, so you waste no material.
- Drainage: small gaps between dry-stacked blocks let excess water escape naturally.
- Permanence: mortared walls resist frost heave better in harsh climates.
- Appearance: mortar gives a cleaner, more finished look, though dry caps look tidy too.
Choose dry stacking for seasonal vegetable beds and flexible layouts. Reserve mortar for permanent retaining walls over two feet tall. Most home gardeners never need the extra strength. As a result dry stacking remains the smarter default for raised beds.
Finishing Touches and the Soil Mix
Line the inner walls with landscape fabric before adding soil. Fabric keeps soil from washing into the block cores. It also discourages weeds from sprouting through tiny gaps. Meanwhile it allows water to drain freely downward.
Fill the bed with a blend of sixty percent topsoil and forty percent compost. Mix in perlite or vermiculite for lighter texture and drainage. Avoid pure garden soil because it compacts quickly. Rich loose mix gives seedlings a strong start.
Water the filled bed thoroughly and let it settle overnight. Top off any low spots with extra mix the next day. Additionally, plant densely and mulch the surface. Companion planting in the block cores extends your harvest beautifully.
Frequently Asked Questions
Do you need mortar for a cinder block raised bed?
No, low garden walls stay stable through weight, friction, and staggered joints alone.
How high can you stack cinder blocks without mortar?
Two courses, about sixteen inches, work safely; add rebar for a third course.
Will a dry-stacked raised bed shift over time?
It can shift slightly, so level the base carefully and pin tall walls with rebar.
Should I fill cinder block holes with soil or concrete?
Soil fill adds stabilizing weight and creates planting pockets; concrete suits permanent walls.
Can you take apart a dry-stacked raised bed later?
Yes, simply lift the blocks off and reuse them in a new layout.
Conclusion
Dry stacking gives you a sturdy raised bed in a single afternoon. Level the base, stagger the joints, and cap the top. Add rebar when walls grow taller than sixteen inches. Start your build this weekend and enjoy fresh vegetables all season.