Table of Contents
TogglePropagating Pachysandra: A Step-by-Step Guide to Rooting Cuttings
Materials Needed
- Pachysandra plants
- Clean, sharp scissors or pruning shears
- Rooting hormone
- Small pots or containers
- Well-draining potting mix
- Clear plastic bags or plastic wrap
- Watering can or spray bottle
Step 1: Choose Healthy Pachysandra Plants
Select healthy, disease-free Pachysandra plants as your source for cuttings. Look for vigorous, well-established plants with vibrant green foliage.
Step 2: Select Suitable Cuttings
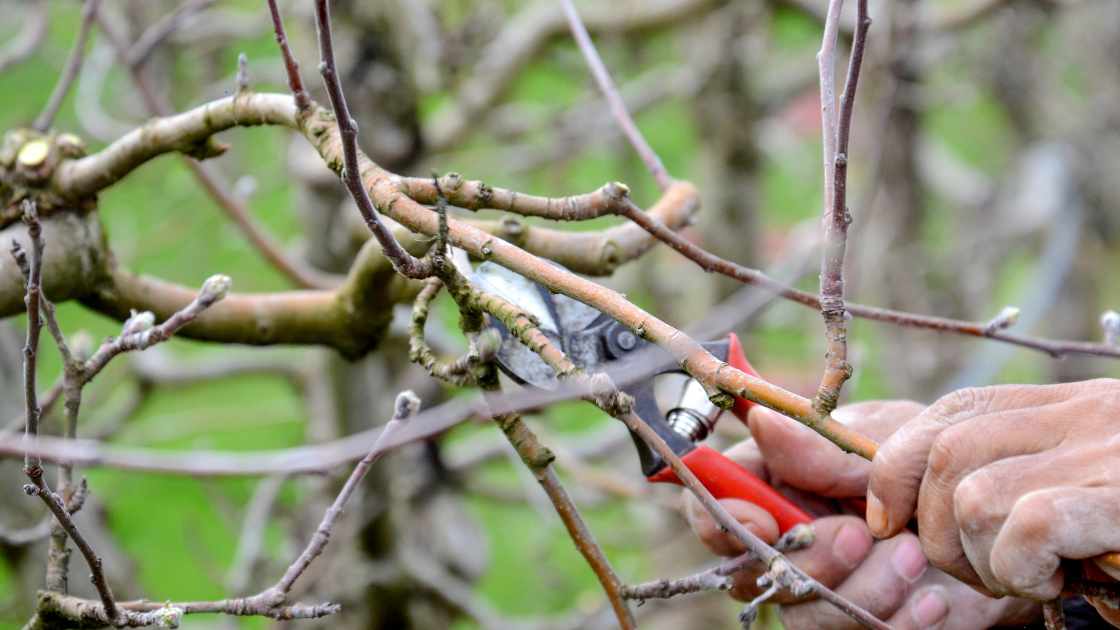
Using clean and sharp scissors or pruning shears, take cuttings from the tips of healthy Pachysandra stems. Aim for cuttings that are 4 to 6 inches in length, and make sure each cutting has at least a couple of sets of leaves.
Step 3: Remove Excess Leaves
Trim the lower leaves from each cutting, leaving only a few leaves at the top. This reduces moisture loss and helps the cutting focus its energy on root development.
Step 4: Apply Rooting Hormone
Dip the cut end of each Pachysandra cutting into rooting hormone powder. This helps stimulate root growth and increases the chances of successful propagation.
Step 5: Plant Cuttings in Pots
Fill small pots or containers with a well-draining potting mix. Make a hole in the center of each pot with your finger or a stick and insert the treated end of the cutting into the hole. Firm the soil around the cutting to ensure good contact.
Step 6: Provide Adequate Moisture
Water the cuttings thoroughly after planting. Maintain consistently moist but not waterlogged soil. Using a spray bottle or a watering can with a fine nozzle helps prevent displacing the cuttings.
Step 7: Create a Humid Environment
Enclose the pots in clear plastic bags or cover them with plastic wrap to create a humid environment. This helps retain moisture and promotes successful rooting. Ensure that the plastic does not touch the leaves of the cuttings.
Step 8: Place in Indirect Light
Position the pots in an area with bright, indirect light. Avoid placing them in direct sunlight, as this can lead to excessive moisture loss and stress for the cuttings.
Step 9: Monitor and Wait
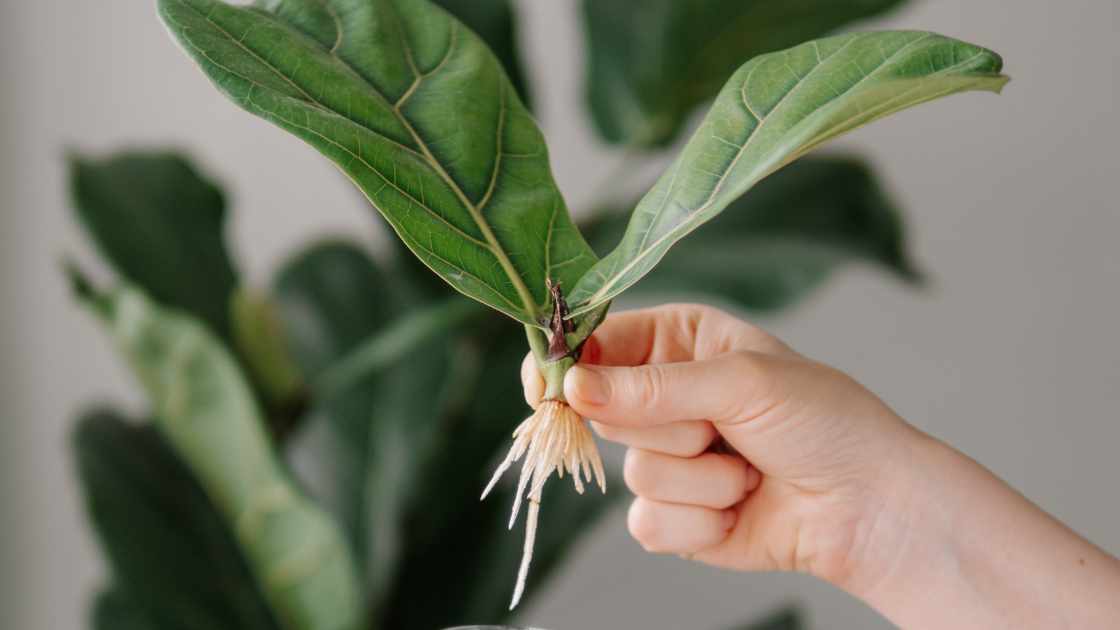
Check the cuttings regularly for signs of new growth and root development. This process may take several weeks. Once roots are well-established and new growth appears, the cuttings are ready for transplanting.
Step 10: Transplanting
Carefully transplant the rooted Pachysandra cuttings into your desired garden location or larger containers. Ensure they receive adequate water and gradually expose them to more sunlight.
FAQs
How do I choose the right Pachysandra plants for cuttings?
Select healthy Pachysandra plants that exhibit vigorous growth, vibrant green leaves, and are free from any signs of disease or stress. Well-established plants with a robust appearance are more likely to produce successful cuttings.
What is the importance of using rooting hormone when propagating Pachysandra cuttings?
Rooting hormone is crucial in promoting the development of roots on Pachysandra cuttings. It contains growth-stimulating substances that encourage root formation, increasing the chances of successful propagation. Dip the cut end of each cutting into rooting hormone powder before planting to enhance the process.
How long does it take for Pachysandra cuttings to root, and what should I look for during the process?
Rooting Pachysandra cuttings typically takes several weeks. Monitor the cuttings for signs of new growth and root development. Once roots are well-established and new growth appears, it’s an indication that the cuttings are ready for transplanting. Patience and regular observation are key during this propagation process.
Final Thought
Rooting Pachysandra cuttings is a rewarding and cost-effective way to propagate this popular ground cover. By following these steps and providing the right conditions, you can successfully expand your Pachysandra collection and enjoy the beauty of this resilient plant in various areas of your garden.


