Soil work is a core part of how to start a garden bed. Prepare garden bed soil by testing it first, then loosening it deeply. Next, mix in generous organic matter and correct drainage problems early. Finally, level the surface, let it settle briefly, and check readiness before planting.
Good preparation gives roots air, water, and nutrients in balanced amounts. Meanwhile, rushed preparation often leaves hard layers, puddles, and hungry plants behind. Therefore, take time to observe texture, moisture, and structure before adding anything. This careful start reduces later work and supports steady growth.
First, you will assess and test the ground beneath your feet. Then, you will loosen compacted layers and blend in organic matter evenly. Additionally, you will fix drainage issues and confirm the bed feels ready.
Assess Your Existing Soil First
Start by walking the site slowly and noting shade, slope, and wet spots. Then, dig a small hole and look closely at color, roots, and layers. Dark topsoil usually signals organic matter, while pale layers often need enrichment. Use this routine to prepare soil garden bed areas before planting.
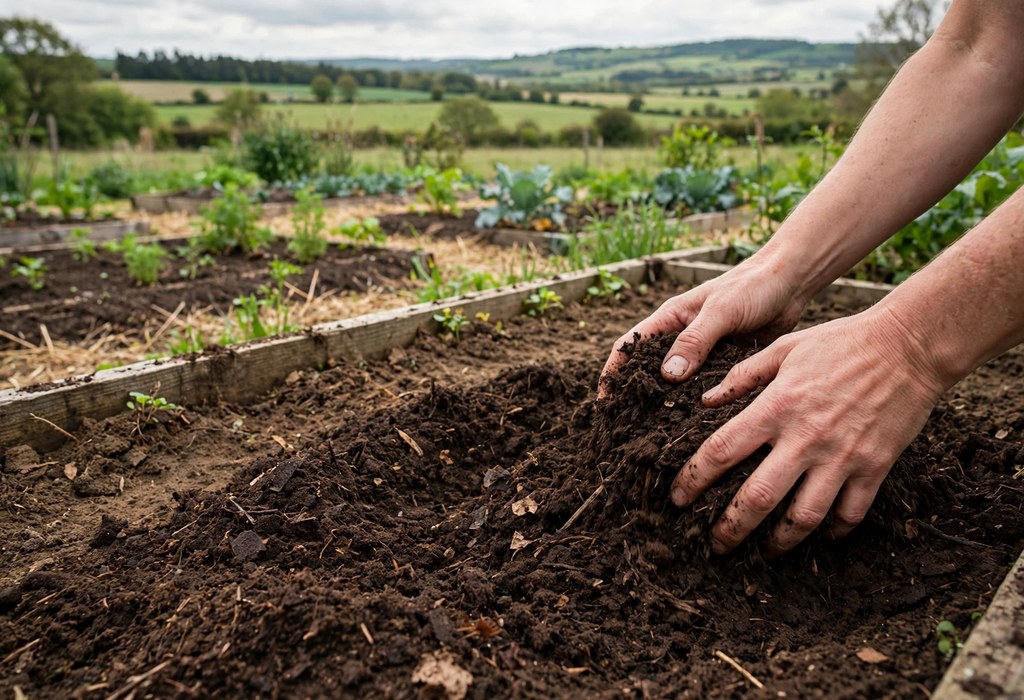
Next, squeeze a moist handful gently and watch how it holds together. Sandy soil falls apart quickly, whereas clay soil forms a sticky ribbon. Loam feels crumbly yet cohesive, so it drains well while holding moisture. Similarly, note stones, roots, and debris that could block young roots later.
Also, check how water behaves after a thorough soaking rain. Puddles that linger suggest poor drainage, but fast drying suggests sandy texture. Finally, record your observations simply so later choices stay grounded in evidence.
Test Garden Bed Soil Before You Prepare It
Soil testing removes guesswork and prevents wasteful or harmful overcorrection. First, collect samples from several spots at a consistent depth. Then, mix those samples together for one representative test sample. Avoid sampling only near paths, compost piles, or recently fertilized areas.
- Home test kits: Measure pH and basic nutrients quickly for general guidance. Use results to guide simple amendments.
- Laboratory testing: Provide detailed nutrient levels and tailored amendment suggestions. Follow recommendations in small, gradual steps.
- Extension services: Offer local testing guidance and interpretation for home gardeners. Ask for help interpreting confusing results.
Most garden plants prefer slightly acidic to neutral soil overall. However, some plants tolerate wider ranges, so match amendments to planned crops. Therefore, read results carefully before buying or applying any amendment.
Additionally, test reports often highlight nitrogen, phosphorus, and potassium levels. Nitrogen supports leafy growth, phosphorus supports roots, and potassium supports resilience. Use those clues to choose amendments, rather than adding nutrients blindly.
Clear, Loosen, and Turn the Soil
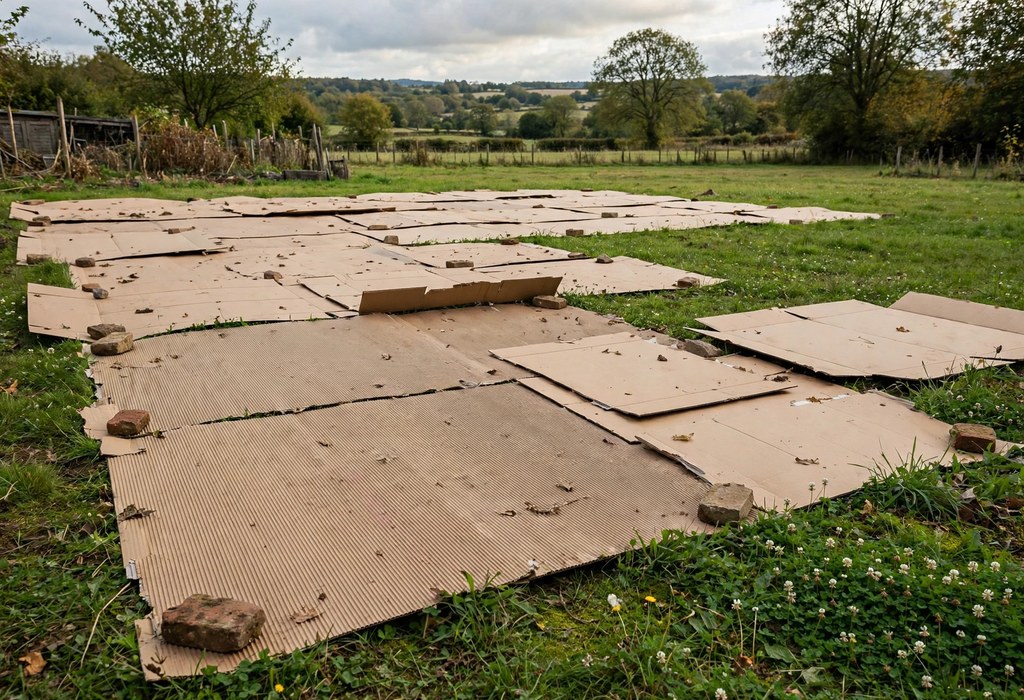
Clear weeds, grass, stones, and debris from the bed before digging. First, pull weeds by their roots to reduce regrowth during establishment. Then, remove large stones that could deflect roots or hinder digging.
Work soil only when it feels moist but not sticky or soggy. Wet digging damages structure, whereas dry digging creates dusty clods. Test readiness by squeezing a handful, then crumbling it with gentle pressure. If the ball crumbles easily, conditions suit loosening work today.
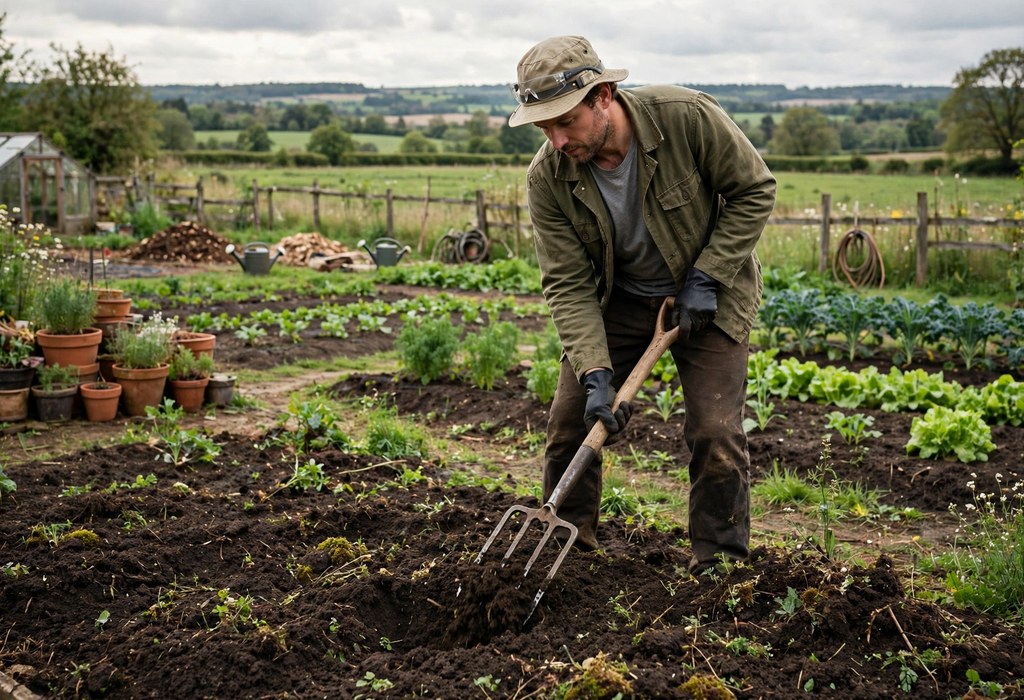
Use a garden fork to lift and loosen soil to a spade depth. Similarly, a broadfork can loosen deeper layers without flipping soil completely. Avoid deep rototilling whenever possible, since it disrupts soil life and structure. Finally, break large clods gently and rake the surface fairly smooth.
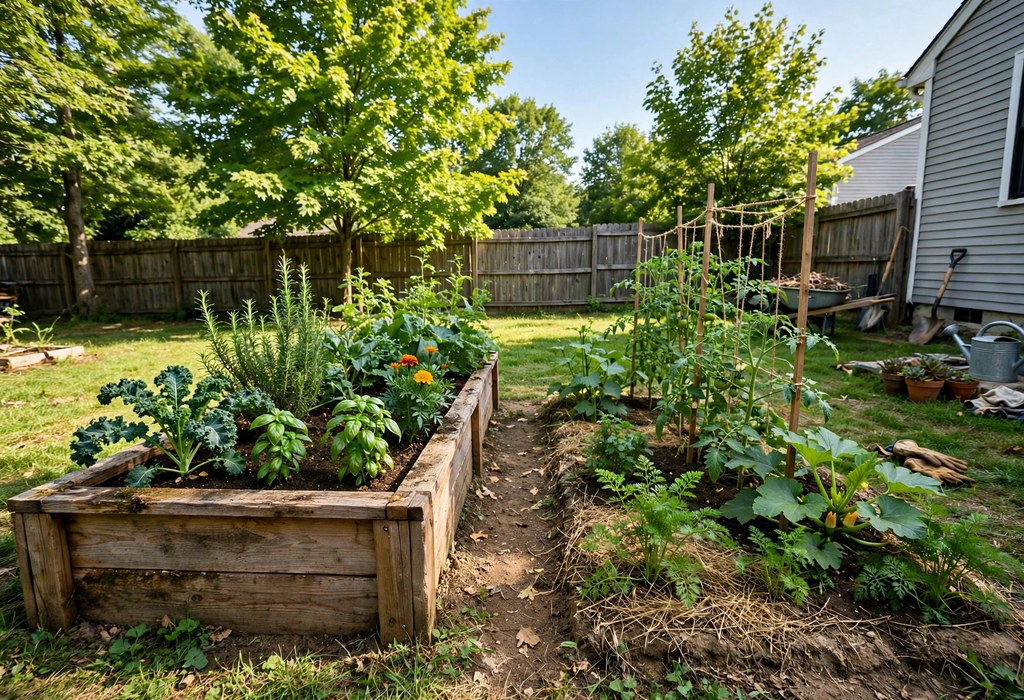
Before planting, review the wider bed layout and confirm spacing, sunlight, and access paths. When you learn how to start a garden bed, plan soil work accordingly. Additionally, keep foot traffic off loosened soil to prevent fresh compaction.
Add Organic Matter to Garden Bed Soil the Right Way
Organic matter improves structure, moisture retention, and nutrient availability simultaneously. First, spread mature compost evenly across the loosened surface. Then, fork it into the upper soil layer rather than burying it deeply. This mixing feeds soil organisms and creates crumbly aggregates for roots.
Aged manure also adds nutrients, but fresh manure can burn young roots. Similarly, leaf mold improves moisture retention while adding gentle nutrition. Avoid adding large amounts at once, since excess material can unbalance nutrients.
Adjust pH only when test results show a clear need for correction. Garden lime generally raises pH, while elemental sulfur generally lowers pH. Apply small amounts gradually, then retest before adding more material. Finally, remember that pH changes take time and rarely happen overnight.
Fix Drainage and Compaction Problems
Healthy beds drain steadily without staying soggy after watering. First, watch how long puddles remain after heavy rain or watering. Slow drainage often points to clay layers, compaction, or low spots.
For clay soil, add compost generously and loosen layers gradually over time. Additionally, coarse organic matter creates pores that help water move downward. Avoid adding sand alone, since sand plus clay can form dense material.
For sandy soil, compost helps hold moisture without blocking drainage completely. Similarly, mulch later protects moisture and reduces surface crusting over time. Meanwhile, avoid walking on wet beds, because foot traffic compresses soil quickly.
If compaction runs deep, loosen with a fork in stages across several sessions. Then, let roots, worms, and organic matter continue improving structure naturally. Finally, consider slightly raising the bed surface to improve surface drainage.
Level, Settle, and Check Readiness
After amendments, rake the bed level and remove remaining clods carefully. First, create a slightly even surface that still allows gentle water runoff. Then, water lightly to settle soil around amendments and reveal low spots.
Wait a short settling period before planting, especially after major loosening work. During this pause, pull any weeds that germinate from disturbed soil. Additionally, refill sunken areas with amended soil and rake them smooth again.
- Crumbly texture: Soil breaks apart easily yet holds moisture between waterings. Repeat this check after watering and settling.
- Good drainage: Water soaks in steadily without pooling on the surface. Recheck drainage after heavy rain or watering.
- Easy digging: A trowel enters smoothly without hitting hard, compacted layers. Loosen again if resistance feels strong.
If soil still feels hard, loosen it again and add more compost. However, avoid rushing this final check, since planting into poor soil wastes effort. Once the bed passes these checks, it stands ready for seeds or transplants.
Frequently Asked Questions
How do you prepare soil for a new garden bed?
First, test the soil, clear weeds, loosen it deeply, and mix in compost.
How much compost should I add to a new garden bed?
Spread a generous layer evenly, then fork it into the upper soil.
Do I need to test soil before planting a garden bed?
Testing helps you amend accurately, so test before adding major amendments.
How can I tell if garden soil drains well enough?
Water should soak in steadily without pooling for long periods afterward.
How long should I wait before planting after preparing soil?
Wait until settled soil feels crumbly, moist, and easy to dig.
Plant With Confidence
Well prepared soil gives every seed and transplant a stronger start. Therefore, follow the steps above patiently and check readiness before planting. Your reward will be healthier roots, steadier growth, and easier seasonal care.
Start today by testing your soil and clearing your chosen bed area. Then, loosen the ground, add compost, and let the bed settle briefly. Finally, plant with confidence and enjoy watching your new garden thrive.