Clear grass and weeds before planting by cutting light, removing roots, or lifting sod completely. Clearing comes first when you learn how to start a garden bed. First, choose a method that matches your timeline, bed size, and weed type. Then, keep the cleared ground covered until planting day arrives. Remove grass weeds fully before you plant anything.
Meanwhile, check the site for spreading runners, deep taproots, and shady damp patches. Additionally, note where water pools after rain, since soggy soil slows clearing work. Therefore, a careful start saves repeated weeding later in the growing season.
Finally, match your effort to the plants you plan to grow there. Shallow annuals tolerate a simpler clearing job than deep rooted perennials. However, every bed benefits from clean soil and strong edge control.
Assess What Is Growing There
First, walk the whole plot and name the main plants you see. Turf grass often forms a dense mat with shallow fibrous roots. Meanwhile, broadleaf weeds may show rosettes, runners, or upright stems instead.
Then, dig a small test patch and inspect the roots below. Spreading grasses send runners sideways through the upper soil layer. Additionally, dandelions and thistles drive deep taproots that regrow from fragments.
Finally, look for seed heads, bare patches, and old root crowns. Seed heads signal future weeds unless you remove them promptly. Therefore, record problem spots before you choose a removal method.
Compare Your Main Removal Methods
First, compare speed, labor, cost in effort, and soil impact together. Digging gives instant results but demands heavy physical work. Meanwhile, smothering costs little effort yet needs weeks or months.
- Digging: Removes sod and roots at once for fast planting.
- Smothering: Blocks light with cardboard and mulch until plants die.
- Solarization: Traps heat under clear plastic during warm sunny weather.
- Hand weeding: Targets scattered weeds and roots without disturbing much soil.
Then, choose digging for small beds and urgent planting plans. Additionally, choose smothering for larger lawn areas and patient gardeners. However, avoid tilling weedy ground repeatedly, since tilling can spread root fragments.
Remove Grass Weeds by Smothering With Cardboard and Mulch
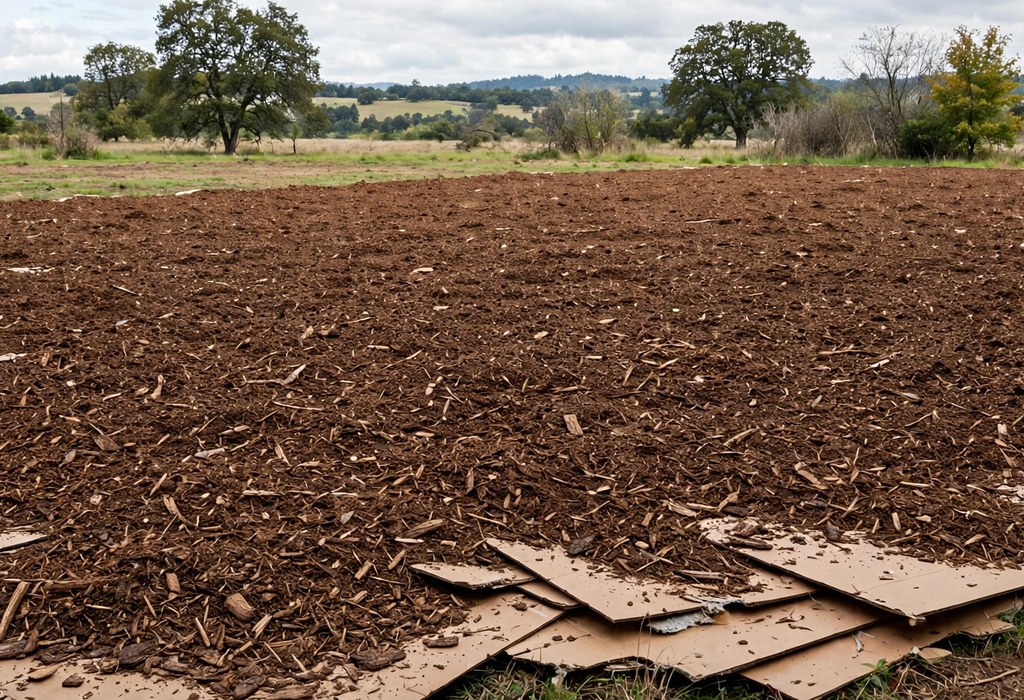
First, mow the area as short as your mower allows. Then, water the ground lightly so cardboard settles against the soil. Additionally, remove tape, staples, and glossy coatings from plain cardboard boxes.
Next, overlap cardboard sheets by several inches on every edge. Then, wet the layer again and cover it with thick mulch. Finally, weigh down loose edges with stones, boards, or extra mulch.
Meanwhile, keep the cover moist during dry spells for faster breakdown. Check edges weekly and patch any gaps where light enters. Therefore, patience here prevents most grass from returning later.
Build Layers That Block Light Fully
First, use one thick cardboard layer rather than thin scattered scraps. Then, add compost or leaves above the cardboard for weight. Additionally, finish with mulch to hold moisture and block light.
Dig Out Sod to Remove Grass Weeds by Hand
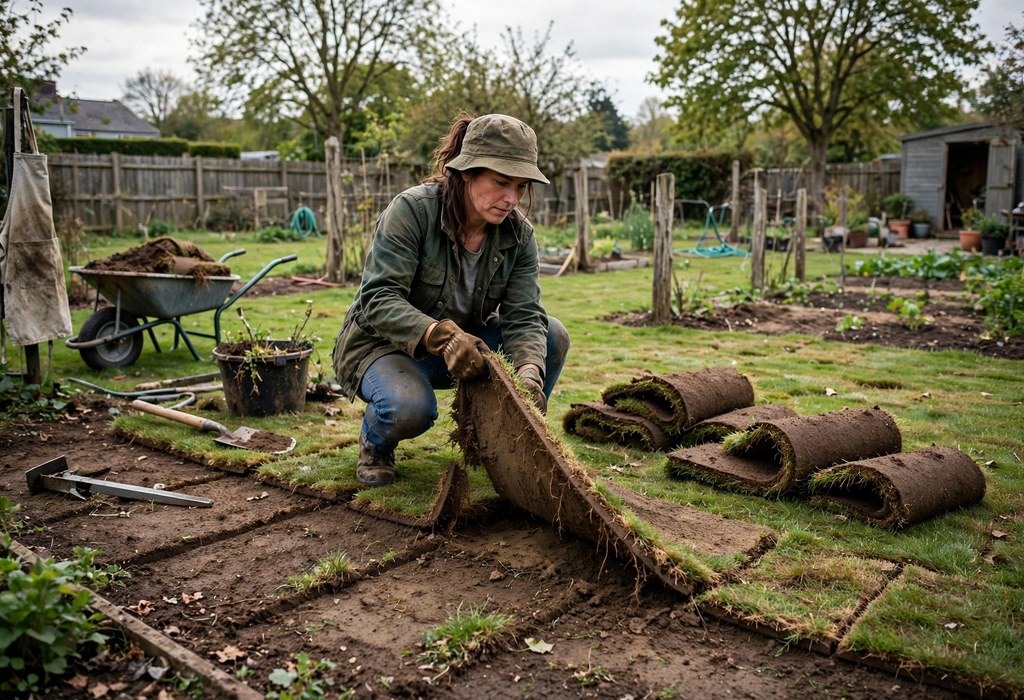
First, water the area one day before digging for softer soil. Then, mark the bed outline with stakes, string, or a garden hose. Additionally, cut the sod into narrow strips for easier lifting.
Next, slide a sharp spade under each strip at a shallow angle. For wider bed planning, read how to start a garden bed before you set final edges. Then, shake loose soil back into the bed from each sod piece.
Meanwhile, sort removed sod into compost, mulch, or green waste piles. Turn sod pieces grass side down to speed their breakdown. However, discard seed heads and persistent roots separately when possible.
Try Solarization to Remove Grass Weeds in Warm Weather
First, choose solarization only during hot sunny weather for best heat. Then, mow grass short and water the soil deeply beforehand. Additionally, stretch clear plastic tightly across the whole area.
Next, seal every plastic edge firmly with soil or heavy boards. Then, leave the cover undisturbed for several weeks of heat. Finally, check beneath one corner for brown dead plants.
However, solarization works poorly in shade or cool cloudy weather. Similarly, black plastic heats soil less evenly than clear plastic. Therefore, save this method for open sunny beds in summer.
Handle Persistent Roots and Weeds
First, target runners and taproots before they spread further underground. Dig around each crown and lift the full root system. Additionally, sift loosened soil for pale root fragments after digging.
Deal With Runners, Taproots, and Seed Banks
Meanwhile, pull small seedlings promptly before they set new seed. Then, trace runners back to their parent crown for complete removal. However, repeat checks weekly, since fragments can sprout again quickly.
Additionally, avoid composting seed heads or invasive roots at home. Bag problem material for green waste collection when local rules allow. Finally, keep tools clean so roots do not travel between beds.
Use Generic Weed Control Options With Care
First, read every product label fully before any weed control use. Then, apply only on calm dry days away from wanted plants. Additionally, follow label directions for waiting times before planting.
However, many gardeners prefer manual and smothering methods first. Similarly, spot treatment limits exposure for nearby soil life. Therefore, treat chemicals as a last option, not a first step.
Prevent Regrowth After You Remove Grass Weeds
First, install a firm edge between lawn and bed immediately. Then, dig a narrow trench or set edging below soil level. Additionally, mow lawn edges regularly to stop runners crossing over.
Meanwhile, mulch bare soil thickly as soon as clearing ends. Then, plant ground cover promptly to shade soil and crowd weeds. Finally, walk the bed weekly and pull tiny weeds early.
Know When the Ground Is Ready After You Remove Grass Weeds
First, lift a corner of mulch or cardboard for inspection. Look for brown dead grass and soft crumbling soil underneath. Additionally, check that no green shoots push through gaps.
Then, squeeze a handful of soil to test its moisture. Ready soil holds shape briefly, then crumbles apart easily. Finally, rake the surface level and remove leftover debris.
However, wait longer if tough runners still show green growth. Similarly, delay planting when cardboard remains thick and intact. Therefore, a short delay beats fighting regrowth all season. Meanwhile, remove any leftover plastic, tape, staples, or stones now.
Frequently Asked Questions
How long does cardboard take to kill grass?
Most lawn grass dies within several weeks to a few months.
Do I need to remove grass before planting?
Yes, remove grass first so new plants face less competition.
Can I plant right after digging out sod?
Yes, you can plant right after digging if soil stays moist.
Will grass grow back after smothering?
Grass may return through gaps, so patch covers and pull shoots promptly.
What is the best way to kill weeds without chemicals?
Smothering, digging, and hand pulling control weeds without chemical products.
Plan Your Clearing Start Today
First, pick one method and mark your bed today. Then, gather cardboard, mulch, tools, and edging materials early. Finally, set a planting date after the ground looks ready. Meanwhile, check local green waste rules before hauling sod away.
Start clearing this week and enjoy a cleaner planting bed. Additionally, share your progress with fellow gardeners and keep learning.